





Location Imperial Tomb

| Attention! In the Goddess of Destruction: Harmony update the location was changed, and it is now intended for 1-2 players of level 80-84. See details here: Imperial Tomb (GoDH). |
Quests
In Imperial Tomb quests start here:
| Type | Quest name | Lv | Start | Reward |
|---|---|---|---|---|
  |
Relics of the Old Empire Make a Pair of Dress Shoes |
60 | Woodley (Woodley) Aden Territory |
 Random Reward S-grade weapon recipes |
| Type | Quest name | Lv | Start | Reward |
|---|---|---|---|---|
|
Whereabouts of the Archaeologist Make a Pair of Dress Shoes |
60 | Woodley (Woodley) Aden Territory |
 325,881  32,524  136,928 |
|
Frintezza Embroidered Soul Cloak Olympiad Veteran |
85 | Grand Olympiad Manager (Grand Olympiad Manager) Frontier |
 Frintezza's Soul Cloak |
| Imperial Tomb | |
|---|---|
| Territory: | Goddard Territory |
| Before editing this location (fixes, additions), please read the location reference guide | |
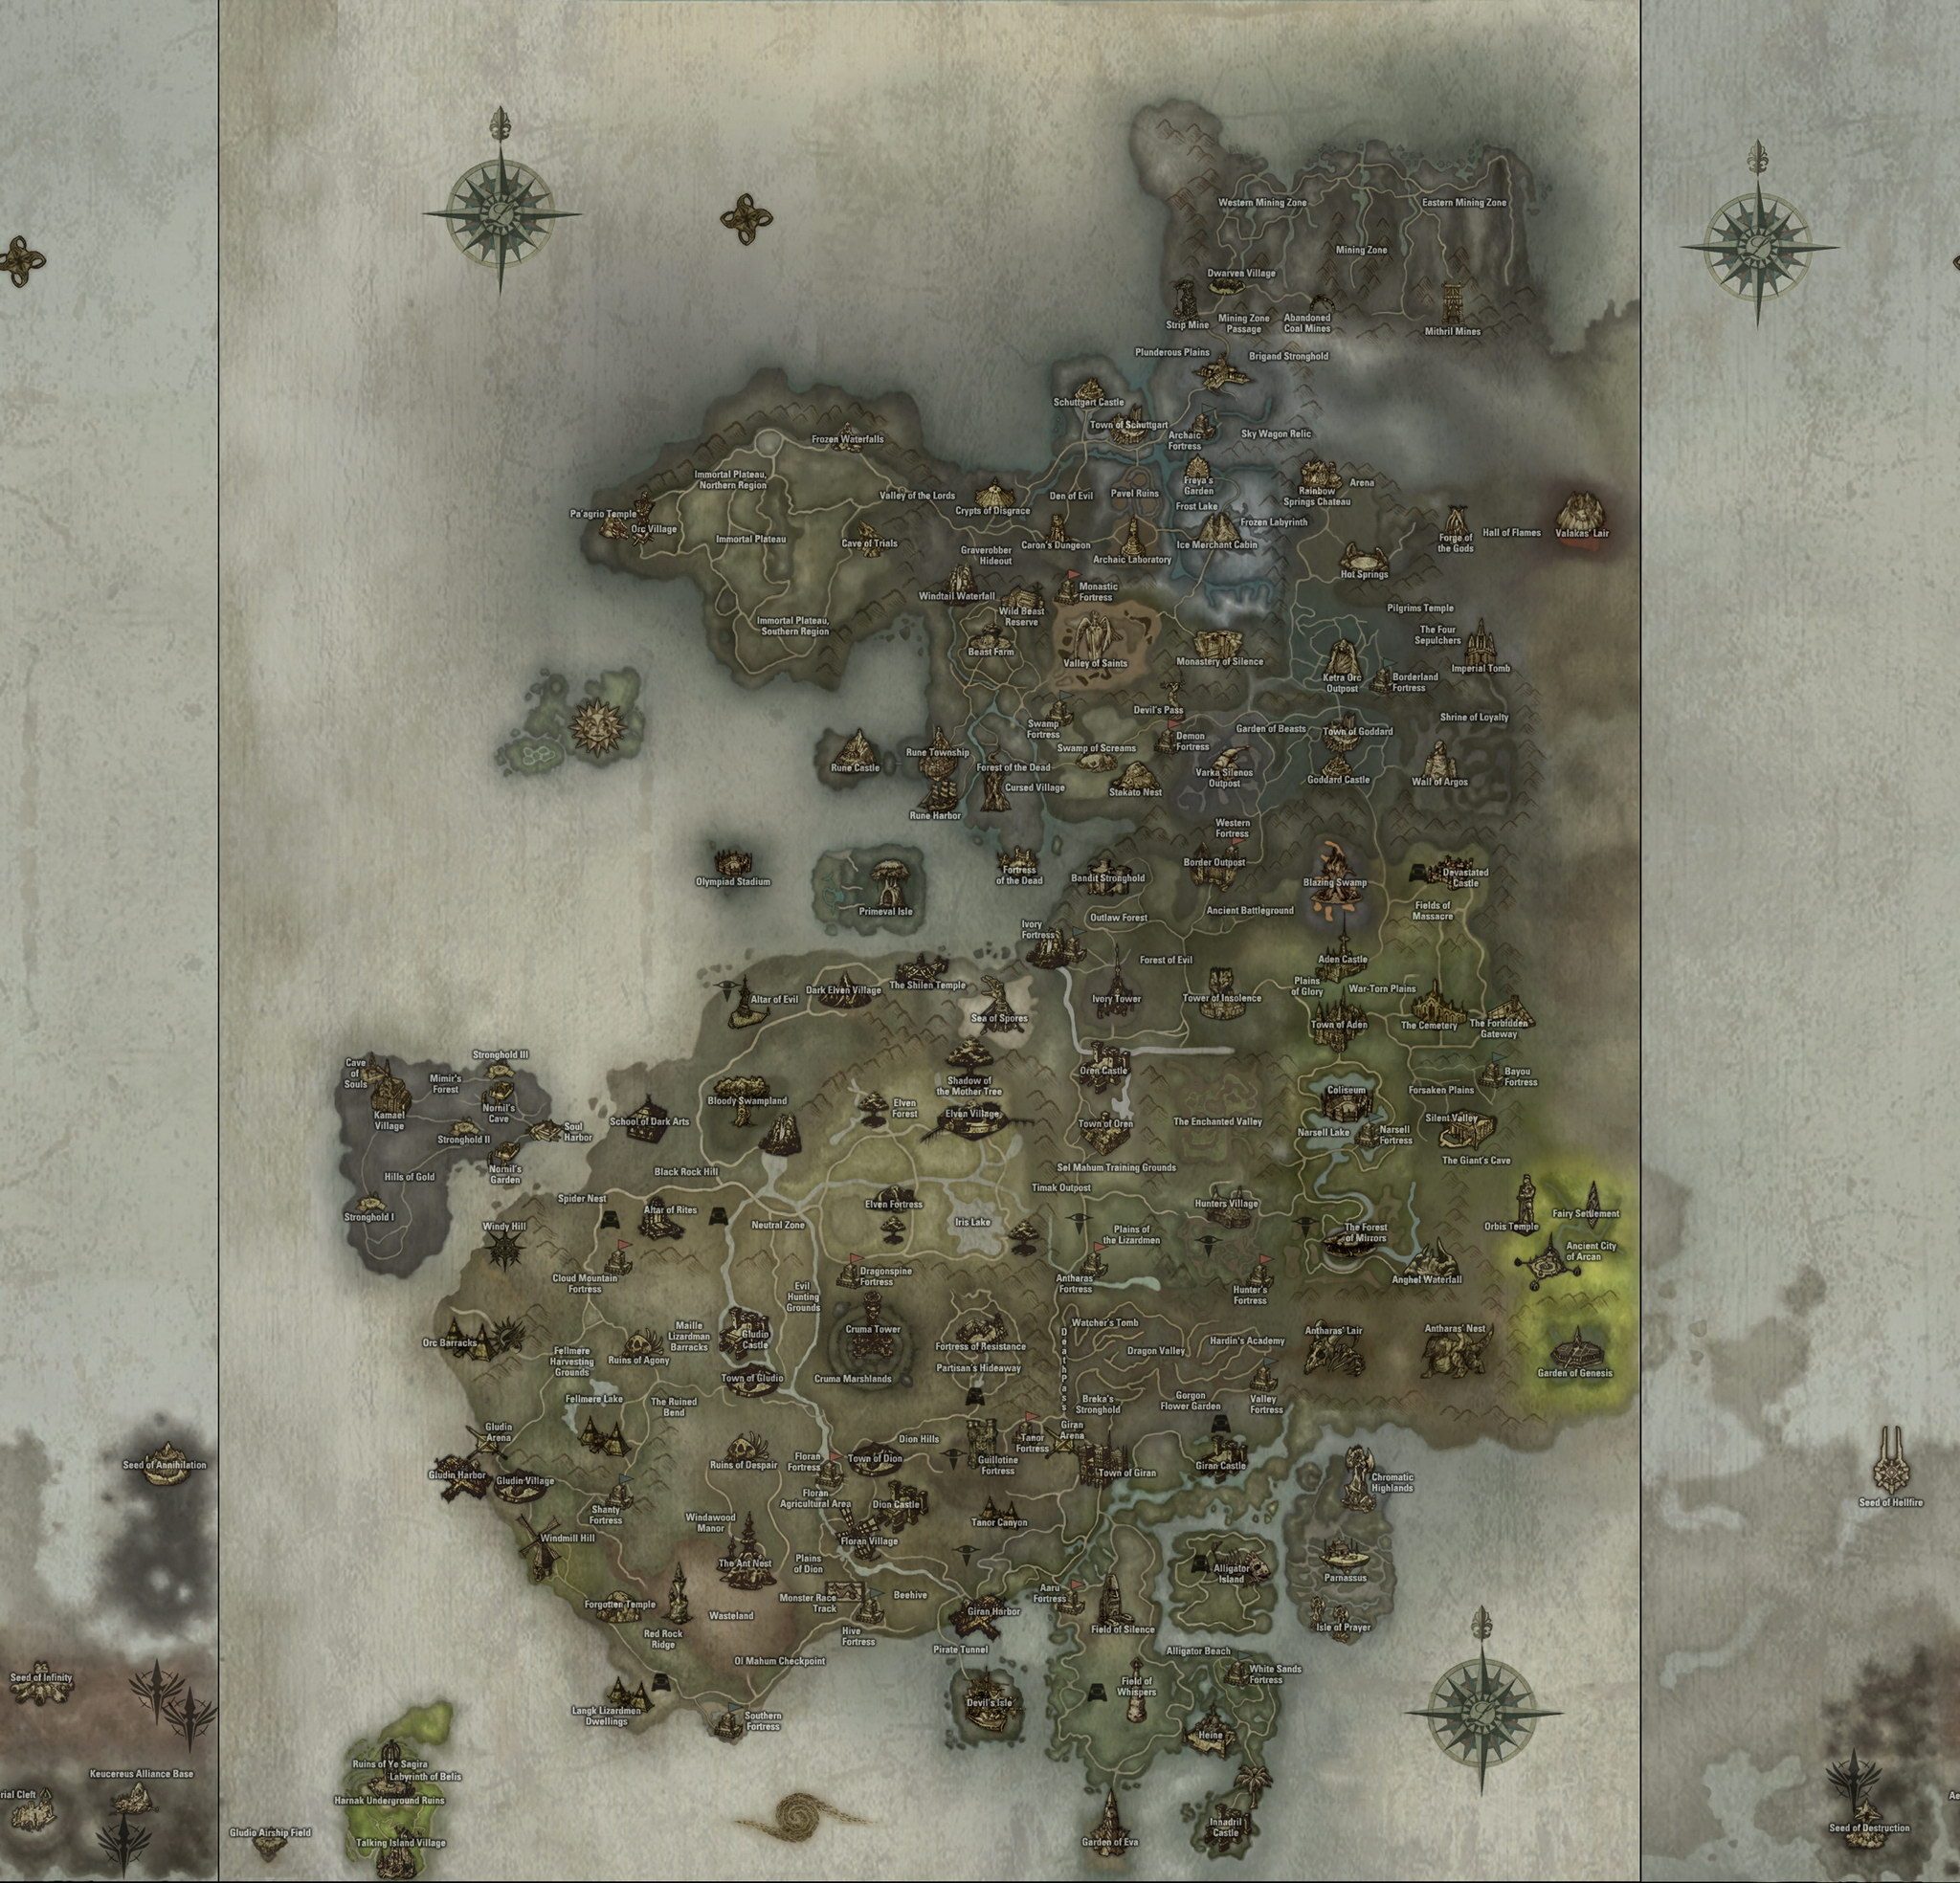
A dot marks the place on the map. Drag the map with your mouse or finger.

NPC
- Spellbook Seller Migel
- Coffer of the Dead
- Priest Sinis
Monsters
- Invading Forces Kanadis Guide, Gem Dragon (1, Lv. 83)
- Orc Hero (Lv. 14)
- Tracker Skeleton, Fantasy Mushroom (17, Lv. 85)
- Alpen Kookaburra, Alpine Kookaburra (Lv. 65)
- Alpen Kookaburra, Alpine Kookaburra (Lv. 65)
- Vampire Warlord (Lv. 73)
- Hasturan (Lv. 78)
- Ashkenas (Lv. 78)
- Varka Silenos Shaman (Lv. 78)
- Ashkenas (Lv. 78)
- Varka Silenos Shaman (Lv. 78)
- Ashkenas (Lv. 78)
- Varka Silenos Shaman (Lv. 78)
- Hasturan (Lv. 78)
- Ashkenas (Lv. 78)
- Varka Silenos Shaman (Lv. 78)
- Ashkenas (Lv. 78)
- Messenger Invader Magus (Lv. 78)
- Ashkenas (Lv. 78)
- Varka Silenos Shaman (Lv. 78)
- Ashkenas (Lv. 78)
- Varka Silenos Shaman (Lv. 78)
- Hasturan (Lv. 78)
- Ashkenas (Lv. 78)
- Varka Silenos Shaman (Lv. 78)
- Varka Silenos Shaman (Lv. 78)
- Ashkenas (Lv. 78)
- Messenger Invader Magus (Lv. 78)
- Hasturan (Lv. 78)
- Ashkenas (Lv. 78)
- Varka Silenos Shaman (Lv. 78)
- Feline Queen Hat Pack (30-day) (Event), Ustralith (Lv. 78)
- Hasturan (Lv. 78)
- Varka Silenos Shaman (Lv. 78)
- Varka Silenos Shaman (Lv. 78)
- Ashkenas (Lv. 78)
- Varka Silenos Shaman (Lv. 78)
- Hasturan (Lv. 78)
- Ashkenas (Lv. 78)
- Varka Silenos Shaman (Lv. 78)
- Ashkenas (Lv. 78)
- Hasturan (Lv. 78)
- Varka Silenos Shaman (Lv. 78)
- Varka Silenos Shaman (Lv. 78)
- Ashkenas (Lv. 78)
- Varka Silenos Shaman (Lv. 78)
- Raid Fighter Scroll of Escape: Town of Giran, Gwindorr's Follower (Lv. 82)
Imperial Tomb - The Imperial Tomb is a huge underground catacomb that once served as the tomb of Elmore's rulers. Tomb robbers are said to have been seen there, drawn by rumors of the empire's riches and relics.
Imperial Tomb is located on Goddard Territory, between Wall of Argos, Ketra Orc Outpost and Hot Springs. IT has two entrances — one from the Wall of Argos side, the other from the Ketra Orc Outpost. side. But the second entrance is a false one: you cannot get into IT itself through it, only into the corridor where the NPC Ghost Chamberlain of Elmoreden stands, the same as the one at the entrance to VoA (after you complete the quest Four Goblets and receive the item  Used Grave Pass, these NPCs can teleport you to the noble teleport points in IT. The item is single-use.
There is no ordinary teleport or clan hall teleport to IT. You will have to run there through the whole VoA. There are two Noblesse teleports to IT — one to the entrance (Imperial Tomb) and the second to the very bottom (Four Sepulchers).
Description
IT is considered a dungeon for players of level 76+. Accordingly, there are multiplied (x) mobs, there are no herbs, and the anti-train system works (that is, you can't pull mobs further than the corridor adjacent to the room). Also, you can start leveling here earlier, from 72+, if you are not put off by having to run to IT through VoS every time.
IT is divided into 3 parts:
- the dungeon itself,
- an instance (closed zone) with Frintezza,
- an instance for a quest The Four Sepulchers.

Monsters and leveling
Most IT mobs (except at the entrance) are level 78 x5, but variations from x3 to x6 are possible; more on them below. Each room has both aggressive and non-aggressive mobs.
Within a room, mobs of the same kind are usually social, but they all have a fairly small aggro radius — they won't aggro from the opposite corner of the room.
Hall

This term covers the entrance hall and the corridor before the descent to the rooms — x3 undead of level 76-77, weak to holy attacks, weak to blunts, dark attack. The mobs stand fairly far apart and have a moderate respawn time. A leveling spot for small groups (solo/duo/trio) of lower level.
Bugs

Three rooms at the start of IT, Bugs race x4-x5; all IT bugs (here and below) resist bows and are weak to blunts. Some mobs resist bleed and have P. Def. variations (reinforced and weakened). They shoot Wind Strike and cast Slow. Even though the mobs have no particularly nasty traits, these rooms are rarely occupied. The reason is most likely that, at comparable "toughness", they give noticeably less experience than the mobs further down.
Polearm room

Polearm leveling is actually possible in other IT rooms too, but these three rooms are especially convenient for small (or not very high-level) polearm groups. To level comfortably with such a group, you can set up either in the room itself (with low DPS) or between rooms, so as to pull from both in turn.
Room "population":
- Royal Guard of Empire — x6 undead. Aggressive, polearm users; they come in 2 kinds, with weakened and with reinforced defense; they cast poison, bleed and hex and are weak to fire and holy attacks.
- Guardian Scarab — x5 bugs. There are two kinds: one is plain, and the second can be very unpleasant for a polearm user pulling a train — it uses slow, stun and root.
- Hexa Beetle — x5 bugs. Their distinctive feature: when you gather a train in a corner, they keep trying to wander off somewhere. As a result you usually have to finish off 1-2 separately.
Mage room

An excellent leveling spot for groups from full to medium size (depending on level and equipment). The mobs are mostly undead (x3-x6). Their composition changes a little from room to room, so I won't list them all and will just point out the most common traits: weakness to fire and holy attacks, use of dark attacks, and they periodically cast bleed and slow. The most unpleasant are Dancer of Empire, which use a mass fire attack with a fairly large radius. In some respawn waves there can be up to 6 of them, and if there is no way to neutralize them (trance, silence) or kill them right at spawn, it may cost you a free teleport to town, or at least a drained healer's MP.
Another funny monster of these parts is Imperial Royal Guard - it can enchant its weapon by +10 during the fight.
Fighter room

A leveling spot for medium groups. All mobs are weak to blunts:
- Imperial Commander x6 undead, extremely strong P. Def., weak to fire and holy attacks, resist dark, use a dark attack (drain)
- Knight of Empire undead of two kinds – x3 and x5, weak to fire and holy attacks, resist dark. The beefier ones use Anchor
- Hexa Beetle
Boss room

Three rooms deep in IT. The Boss itself is an x6 demon with extremely strong P. Def.; it uses a dark attack, is weak to holy attacks and resists dark attacks. L2WH claims it is weak to fire, but in the game the boss itself has no such mark. The boss's guards are x6 undead, weak to fire and holy attacks. The other mobs in the room: Abraxion, Hasturan, Ustralith, Arimanes, Ashuras. Demons x5-6. Weak to holy attacks; their P. Def. is either reinforced or weakened. They periodically cast hex, an accuracy debuff and bleed. They use water and wind magic attacks.
Leveling – possible with up to a full group, although the higher your level, the fewer people you need to level here successfully. A BD and some buff modifier (like CoV, PoV, etc.) are a must-have, otherwise you won't manage non-stop leveling.
L-room

A single room at the very bottom of IT, before the entrance to The Four Sepulchers. Mobs of 2 types, Abraxion and Ashkenas: weakened defense, reinforced attack for both types at Ashkenas, greater sleep resistance, weak to holy attacks. They periodically cast stun, slow, bleed, silence and a mass fire nuke. A leveling spot for small groups of 1-2 damage dealers and a buffer. Watch out for possible trouble – the mobs buff themselves with high-level reflect, and as a result damage dealers practically kill themselves.

