




Quest Testimony of Prosperity
| Dwarves understand the virtue of abundance above all others. True Dwarves study the teachings of Maphr in order to better grasp the concept of plenty!
|
| ||||||||||||||||||
 217682
 0
 1199958
 80080


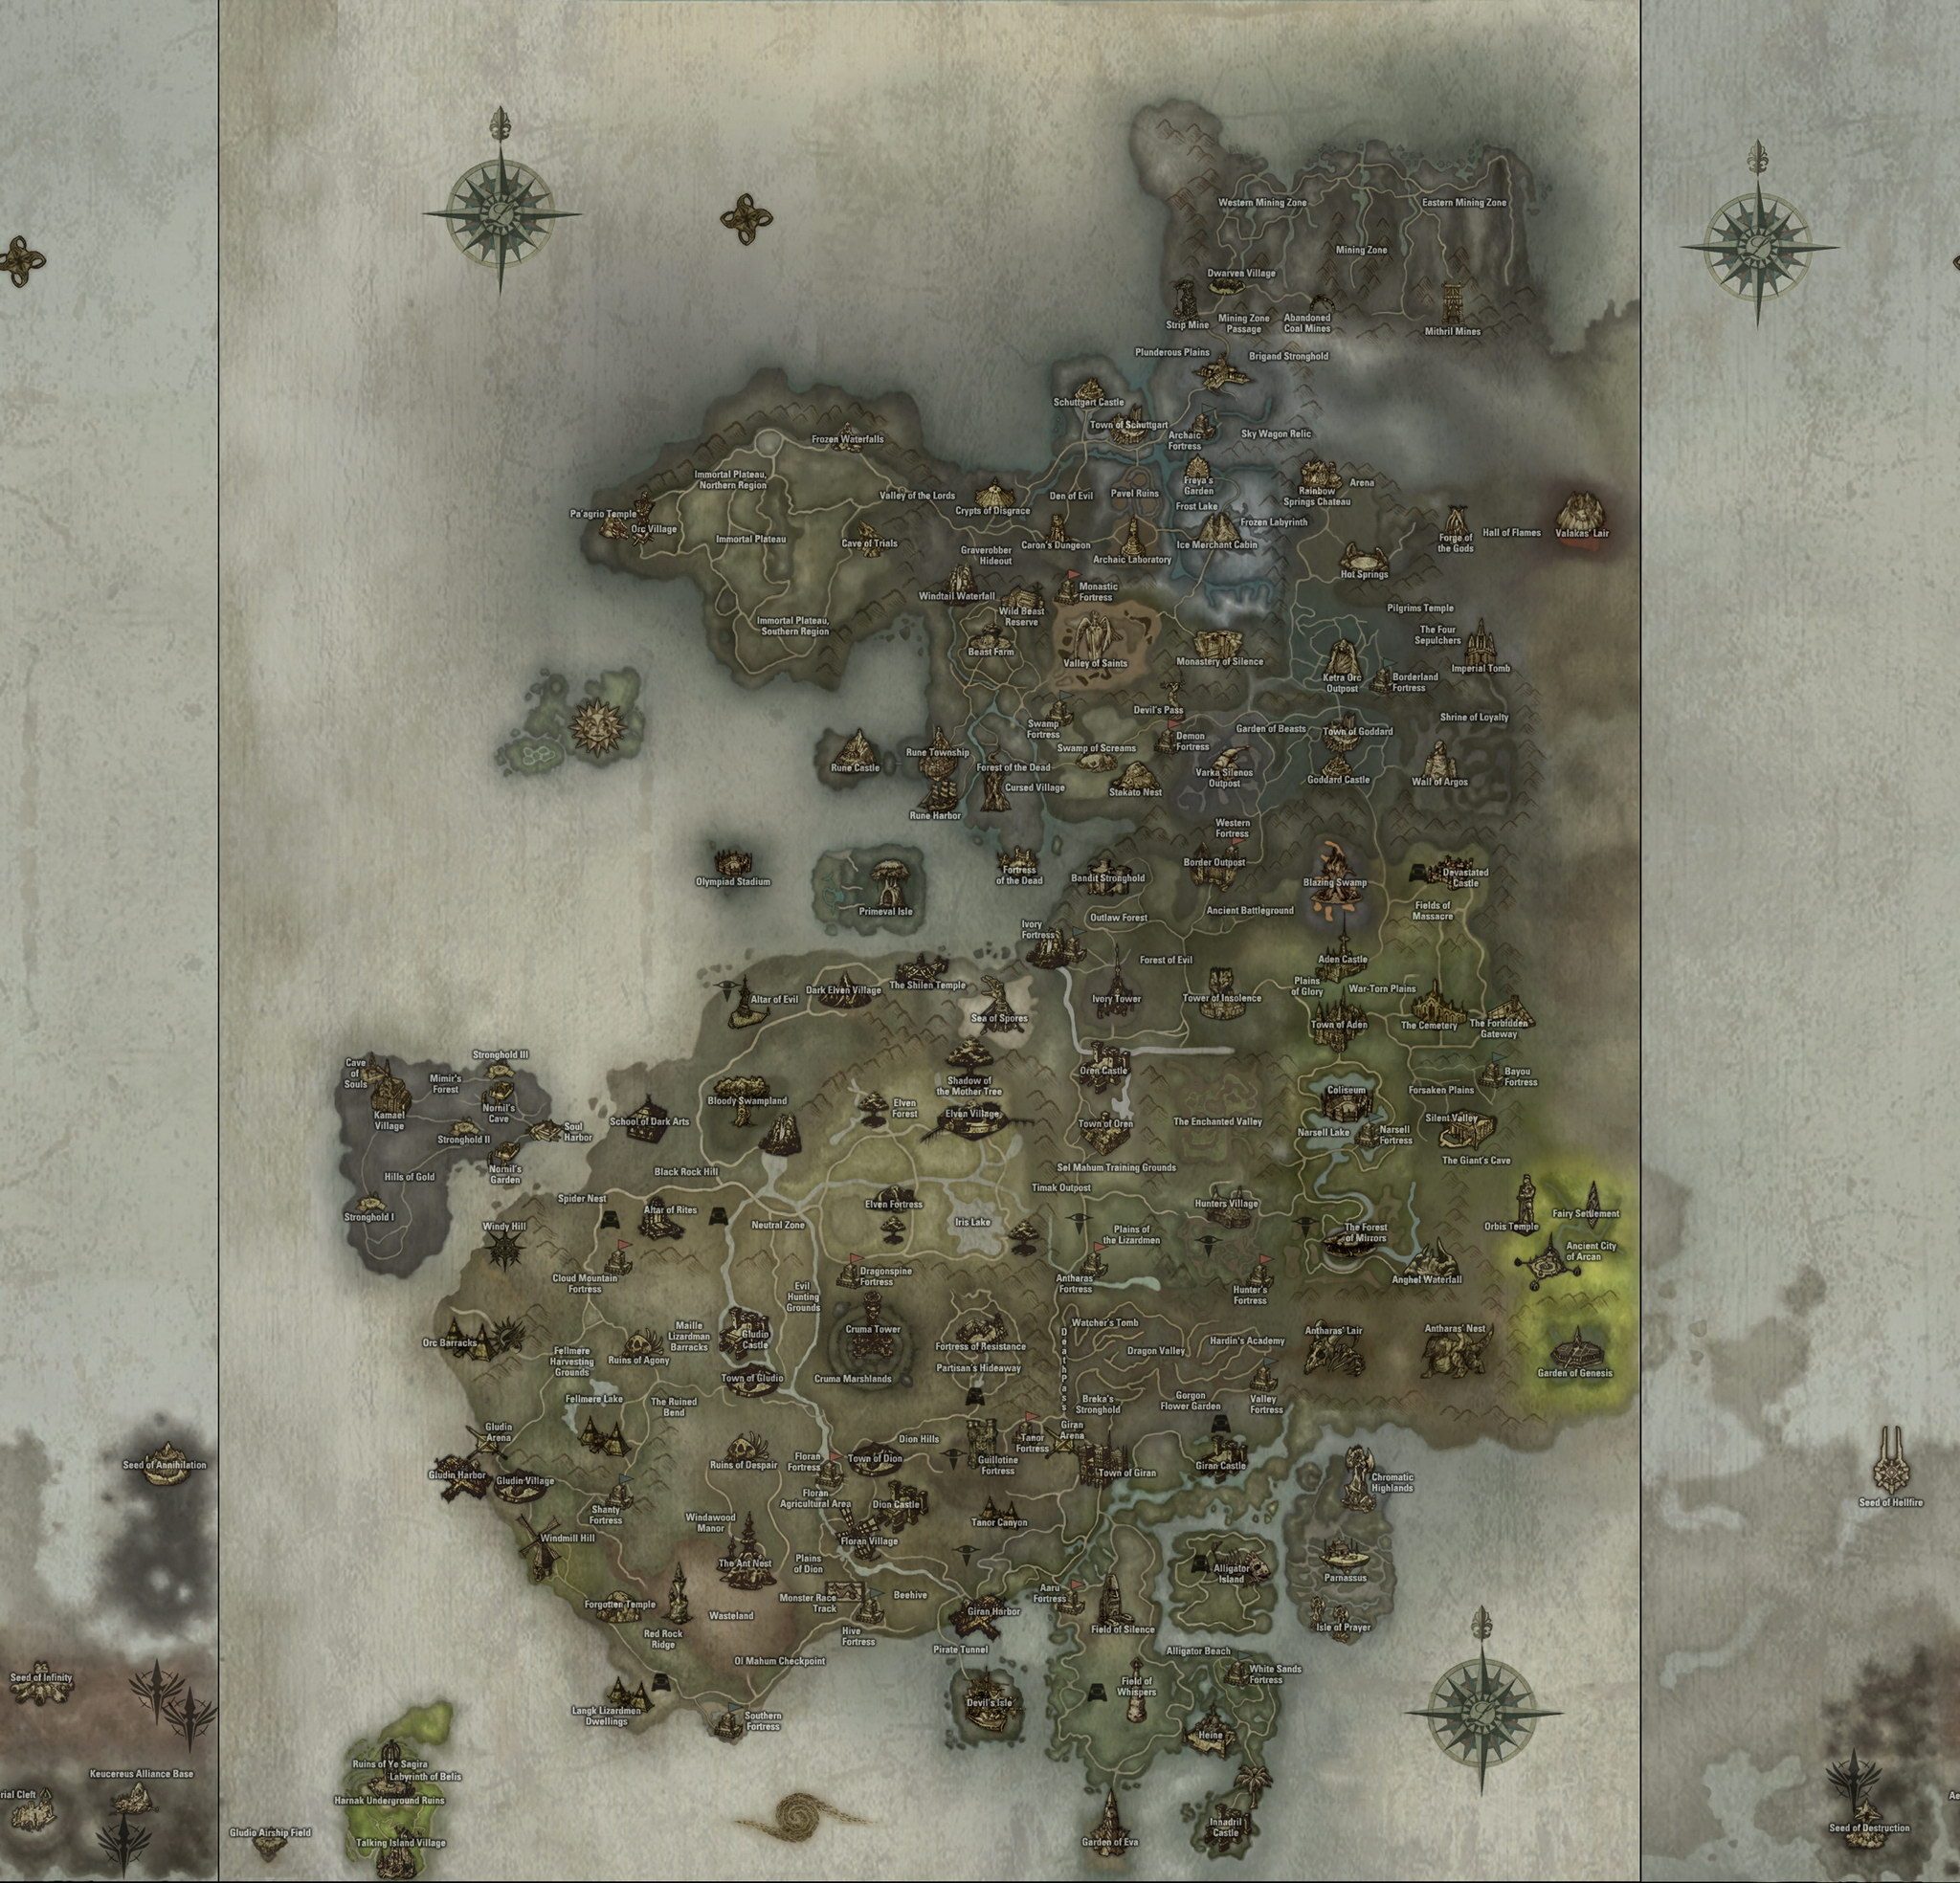
A dot marks the place on the map. Drag the map with your mouse or finger.
Quest walkthrough
- To get this quest, talk to Parman
 in Town of Giran
 . He will give you Ring of Testimony and ask you to bring 4 testimonies that prove your success and prosperity.
- Go to Town of Dion . Here you need to talk to Bright , who stands near the eastern gate.
- Guard Bright: There is one thing my mother loves very much. It's a bouquet made of mandragora petals. I don't know the story behind why she came to love these flowers so, but whenever I gave them to her, her face grew happier and her eyes would sparkle. I will make such a bouquet if you bring me the materials I need: 20 mandragora petals (20 mandragora flower petals) and 10 bunches of crimson moss (10 bunches of crimson moss). You'll get Mandragora Petals by hunting Mandragora Blossom west of Execution Grounds. You'll find the moss near the Giant Crimson Ants (Giant Crimson Ants). Good luck on your journey!
- Run to Execution Grounds . Kill Mandragora Blossom (lv. 11) and Mandragora Sprout (lv. 11) here until you collect 20 Mandragora Flower Petals.
- Then go to Talking Island Village . Find Wilford here.
- Warehouse Keeper Wilford: Welcome, my young friend! So you're taking the exam to rise higher in your guild? Ha, long ago I took it too. Though I've forgotten much of it by now. So you're looking for the Mark of Health (Mark of Health), right? I remember I once talked to Parman about this item. What did I say back then… I've completely forgotten…
- Choose: An Elf more than 1,000 years old
- Receive from him: a Crystal Brooch (
 Crystal Brooch).
- Now go to Lilith (). She stands in the church.
- Lilith: What is a dwarf doing on an island so far from the mainland? Did you come all this way to see me? The Mark of Life? You've heard the news of my beloved's death. I waited for him for a thousand years. Do you feel my grief? So how dare you disturb me, and with such a petty request as a mark? You Dwarves are all the same. You are all selfish!
- Win her over by giving her the brooch you got from Wilford. Then you will receive the Mark.
- Go to Orc Barracks ; you need to find Piotur .
- Piotur: All these days my brothers and I have been toiling on this cursed land as if it were the most fertile place in the whole kingdom! So you're looking for the Symbol of Fertile Lands? Well, I have it. Here you go.
- Receive Blessed Seed. Use the scroll to get to Gludin Village.
- From Gludin Village , teleport to Dwarven Village . Go to Lockirin .
- First Elder Lockirin: A lot of water has flowed under the bridge since you left. So how are you doing? Have you managed to build up some capital? Ah, yes, the Proof of Success. I'm glad you show such ambition at so young an age. I suppose Parman told you that I hold the Mark of Wealth (Mark of Wealth). I, First Elder Lockirin, Leader of the Dwarves, the one who runs the entire economy of this land!
- Lockirin will ask you to talk to all the Elders standing in the room. Receive:
 Collection License, Lockirin's 1st Notice, Lockirin's 2nd Notice, Lockirin's 3rd Notice, Lockirin's 4th Notice, Lockirin's 5th Notice.
- Golden Wheel's Spiron , disappears: Lockirin's 1st Notice.
- Silver Scale's Balanki , disappears: Lockirin's 2nd Notice.
- Bronze Ley's Keef , disappears: Lockirin's 3rd Notice.
- Gray Pillar's Filaur , disappears: Lockirin's 4th Notice.
- Black Anvil's Arin , disappears: Lockirin's 5th Notice.
- Golden Wheel's Spiron
- Now you need to collect contributions from the following NPCs:
- Carrier Torocco (stands behind the warehouse), receive: Procuration of Torocco.
- Trader Mion (Magic Shop), receive: Contribution of Mion.
- Maryse Redbonnet (near the Northern Gate), receive: Maryse's Request.
- Carrier Torocco
- She will ask you to collect 100 Animal Skin.
- Maryse Redbonnet: Good! 100 pieces of leather! Thank you… Now I can take my revenge… Here is the donation you asked for! That old man has completely lost his mind. I can't believe he sent someone to collect money! Well, fine, you've got what you need, now get lost!
- Receive: Contribution of Maryse.
- Trader Shari (Weapon Shop), receive: Contribution of Shari.
- Miner Bolter (beyond the Southern Gate), receive: Receipt of Bolter.
- Trader Shari
- Return to the Elders:
- Golden Wheel's Spiron , you receive: 1st Receipt of Contribution (Will disappear: Contribution of Shari).
- Silver Scale's Balanki , you receive: 2nd Receipt of Contribution (Removed: Contribution of Maryse, Contribution of Mion).
- Bronze Ley's Keef , receive: 3rd Receipt of Contribution (Removed: Procuration of Torocco). Note: How nice of Torocco to give you the honor of paying his contribution; that's where you paid 5,000 adena.
- Gray Pillar's Filaur , you receive: 4th Receipt of Contribution (Will disappear: Receipt of Bolter).
- Black Anvil's Arin sends you to look for the disgraced Toma .
- Golden Wheel's Spiron
- You can find Master Toma on the northeastern coast (Northeast Coast) (Note: Starting with the Gracia chronicles, Master Toma always stands in the same place).
- Master Toma: A donation? Let me see… Time for another donation? Strange! It seems only yesterday I made a donation. This isn't some trick of that swindler Arin, is it? Since becoming an Elder he's gotten far too full of himself. Who does he think he is… the center of the universe… Oh… fine… here's your donation!
- Return to Black Anvil's Arin . Receive: 5th Receipt of Contribution (Removed: Contribution of Toma).
- Now talk to First Elder Lockirin . Receive: Old Account Book (Removed: Collection License, Receipt of Contribution 1-5).
- Now talk to First Elder Lockirin
- Go to Cruma Marshlands .
- Here you need to fight Giant Crimson Ant (lv. 26) to get
 10 Crimson Moss.
- Here you need to fight Giant Crimson Ant (lv. 26) to get
- Return to Town of Dion , to Bright . He will make you the bouquet Mandragora Bouquet. (Removed: Mandragora Petal, Crimson Moss, Bright's List).
- Give the bouquet to Emily . She stands near the Guard, just inside the town.
- Emily: The Mark of Abundance. That reminds me of something. There is one secret that let me keep my health even though I gave birth to 12 children. The secret is a dish whose recipe my mother passed on to me. Pregnant women who eat this dish have no trouble giving birth. This recipe is passed only from mother to daughter, but for you I'll make an exception. Here is the recipe. I hope it will serve as proof that you have received the Mark of Abundance.
- Give the bouquet to Emily
- Go to Town of Giran , to Parman . Now the second part of the quest begins. You will receive: Ring of Testimony (2), Parman's Letter.
- Warehouse Keeper Parman: In fact, the trial only begins now. You must take part in one of the Guild's projects and achieve visible results. The project is to find Maphr's Tablet and restore the secrets of Absolute Geometry. Recently a group of archaeologists dug up an ancient relic near the Tower of Cruma. Our scholars believe it is part of Maphr's Tablet. Take this letter addressed to Maestro Nicola. He will tell you the details of your task.
- The area near Cruma Tower , to Nikola .
- Maestro Nicola: I know what materials the key needs. But I can't give it shape. That's why I need your help. You must go to the tower and make a copy of the keyhole; then I'll be able to write a recipe for making the key. Take this clay to make a copy of the keyhole.
- In Cruma Tower you need to go to floor 1: from the teleport go straight to the fork, then right through the room, left into the corridor and left again (run past the room entrance on the left side); at the end of your short way there will be Box Of Titan . Click on it and receive Pattern of Keyhole.
- Return to Nikola.
- Maestro Nikola: Excellent! You've made a copy of the keyhole! Wait a second, I'll write the recipe for making the key. So… now I need to sketch the structure of the key. Hmm, the structure is very complex. So many double helixes linked with double helixes. I've never seen anything like it. Simply fantastic. But don't worry, making it won't be any trouble for me. Done! I guarantee this key will open the box, as long as you follow the recipe exactly. All that's left is to gather the materials. Don't worry, all the creatures you need are nearby. I don't think it will be a problem for you.
- To create the key
 Key of Titan you will need:
 20 Stakato Shell, 10 Toad Lord Sac, 10 Spider Thorn, 10 Crystals – D-grade.
- Toad Lord Sac from Toad Lord (Lv. 26)
- Stakato Shell from Marsh Stakato (Lv. 11),Marsh Stakato Worker (Lv. 26), Marsh Stakato Soldier (Lv. 26), Marsh Stakato Drone (Lv. 26)
- Spider Thorn from Marsh Spider (Lv. 26)
-
- Having gathered the necessary ingredients, return to Nikola. Make the key.
- Nikola will send you to open the box and bring him its contents.
- Go to floor 1 of the Tower again. Use the key to open the Giant's Box. Receive: Maphr Tablet Fragment (Removed: Nikolas' List, Recipe Titan Key, Key of Titan). If "open the chest" doesn't work, click "quest".
- Use the scroll to get to Town of Dion , and from there teleport to Town of Giran , to Parman .
- Warehouse Keeper Parman: The Elders will be pleased! I'll tell them all about your achievements. By the way, word has reached me that another fragment was found recently. Thanks to you, we will soon master the secrets of Absolute Geometry. Now the Elders will take on this fragment. They are the only ones who can translate the language of the Giants. You have passed the second trial! The Mark of Prosperity is now yours! Now you must work even harder to strengthen our alliance!
Sources
| Lineage II at 37 level | |
|---|---|
| Quests from level 37 | |
| Level 37 monsters | |
| Level 37 raid bosses | |

